Today I wanted to talk about one of my most successful photographs I’ve ever made. It is probably the photo that took the longest time in it’s creation as it was part of two different landscape shoots I did, and a lot of photoshop work, masking and color enhancing. This photograph is a well know view of the Chicago skyline that many photographers take. So, my goal was to make it different as it has been seen so many times.
Shooting Location #1
Photographing skyline of the City of Chicago can be trickier than you think. When the weather is sunny and skies are blue, most of the time there is a lot o haziness in the air which can affect the clarity of your photograph. Yes, I know there is filters, but I have never used one and I’m not sure if they work. So I just waited for perfect opportunity. It was an early spring when I decided to go out and photograph the skyline of Chicago. Location I picked was at Museum Campus right by the Adler Planetarium Museum. It’s a very famous place among tourists and photographers. I came there 45 minutes before sunset and set my camera on the tripod and waited for perfect moment. Most people say, that best photographs at night you can take one hour after the sun sets at the horizon. I believe there is 5 minutes in that hour that they come out just perfect, like no other photograph in that series.
Equipment I used for this shoot was my Nikon D610 and my 24-70 f2.8 Nikkor lens. I needed a wide angle, but not too wide. I considered my 12mm f4 but figured it probably wouldn’t do as good as my other lens.
Original Shot #1
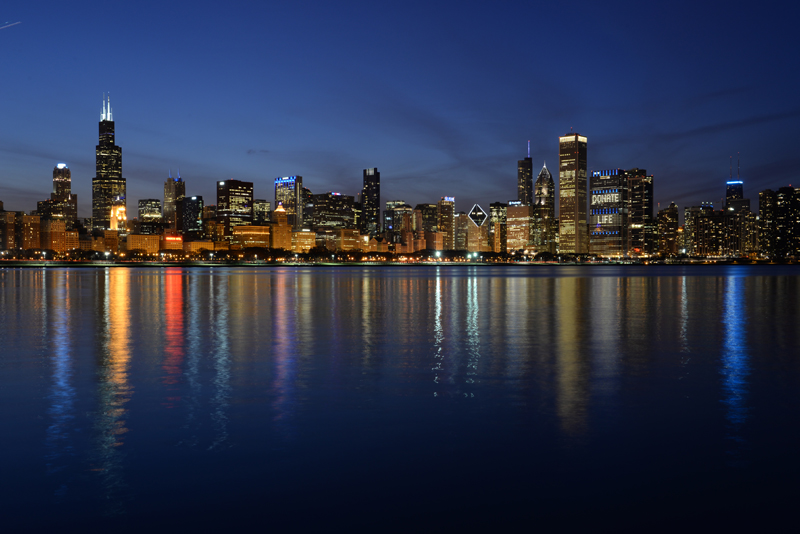
Editing Process Part 1
After browsing through the photos I took that night, this was the one I decided to edit. Nothing to crazy went into the edit of this photograph. It was almost perfect straight out of the camera. I just used two adjustment layers in photoshop. Curves and Vibrance. I just added some vibrance and brought in my highlights slider for more contrast in the photos. Last step was duplicating upper portion of the skyline, flipping it horizontally so I can achieve the water reflection. The layer I crated, I blended in the Soft light blending mode, and lowered the opacity to a really low level.
Shooting Location #2
For the second shoot I decided to get up early in the morning and photograph the lakefront at the Lake Michigan. Sunrise colors are more vibrant and warmer than sunset so I thought this would definitely be nice addition to my skyline photo. I went down to the North Ave Beach again 45 minutes before the sun would rise behind the horizon. Set my tripod and camera and waited for the perfect moment. Number of people at the beach at 5AM in the morning was staggering. I guess this is the city that never sleeps.
Original Shot 2
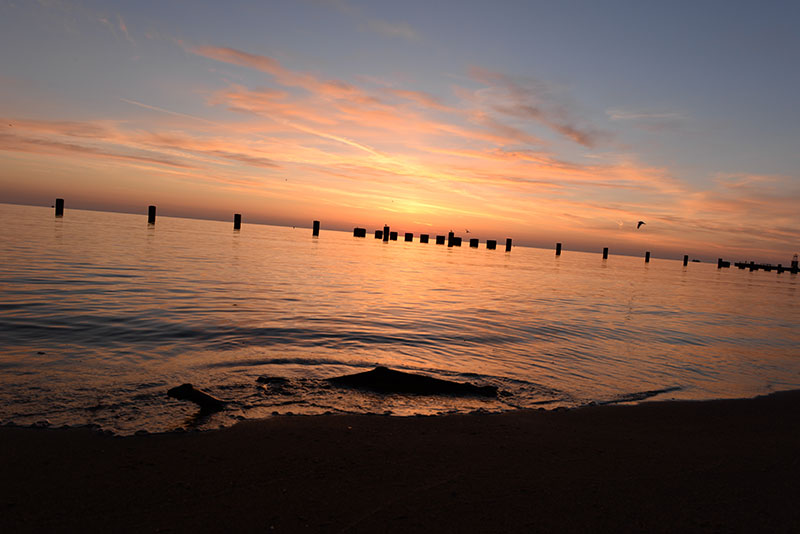
Obviously here is started with straightening out the photograph. Second step was to bring my highlights in for more contrast. Very important step for the vibrance of this photograph was adding a color balance layer in photoshop.
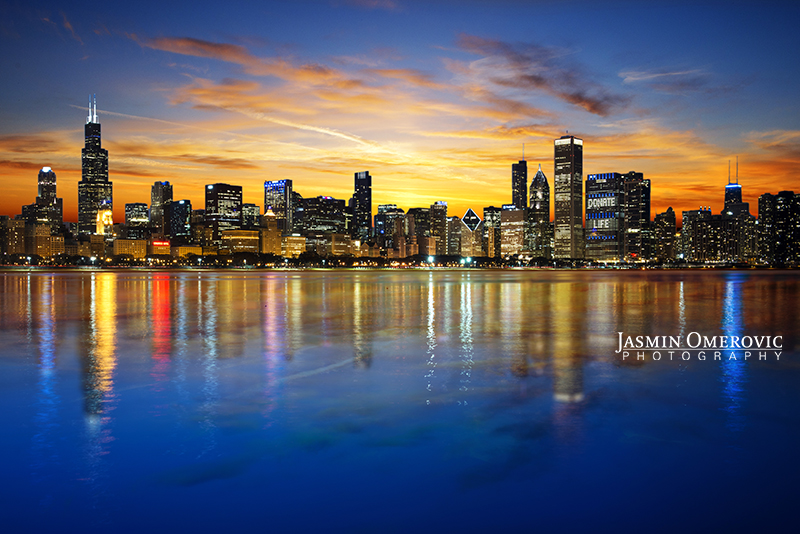
Final Edit
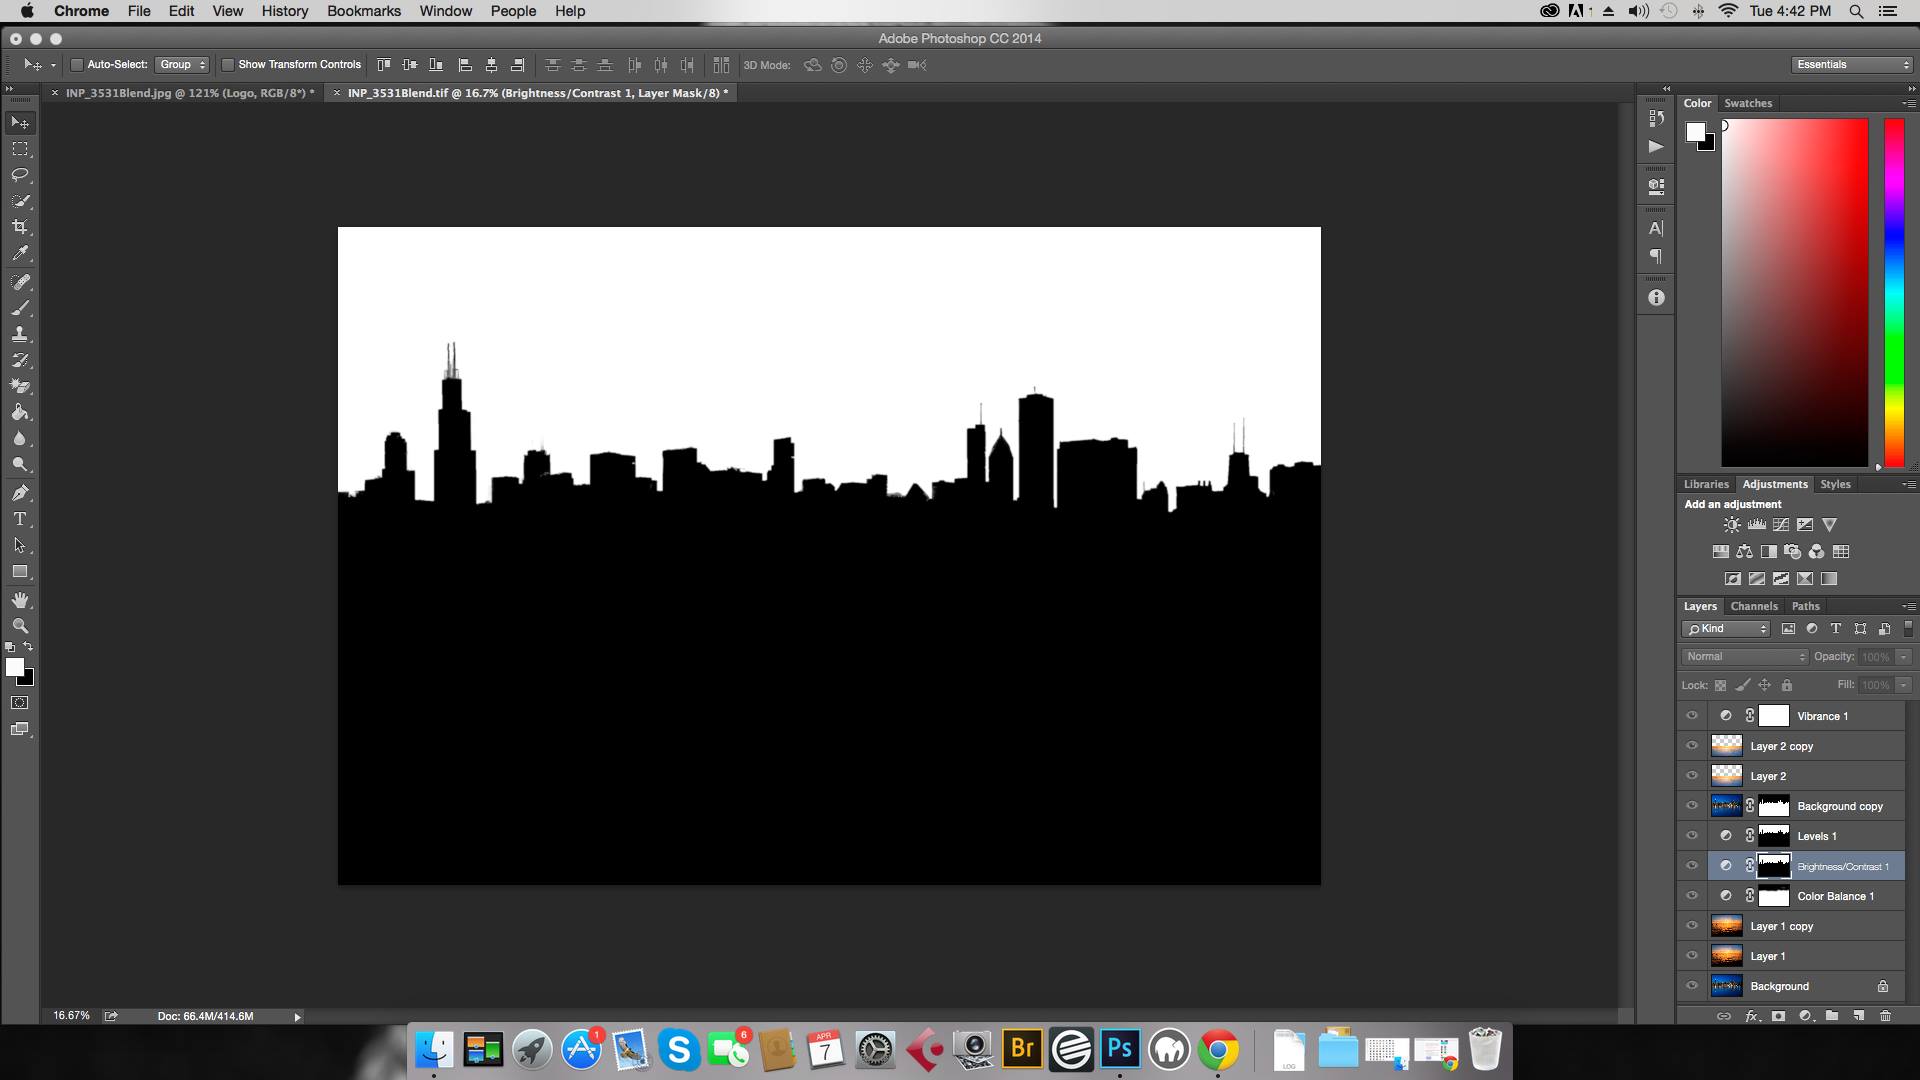
Final edit was a very tricky part. I had to put these two photographs together which means I had to create the messiest mask I have made in Photoshop. Painting around the edges of the skyline was a tone of work and it took me close to 4 hours to do it. Is it perfect? No! But it’s pretty close to that.
I hope you like this blog. If you have any questions please leave them in the Comments. If you are looking for a Chicago Wedding or Family Photographer please feel free to reach out to me.